
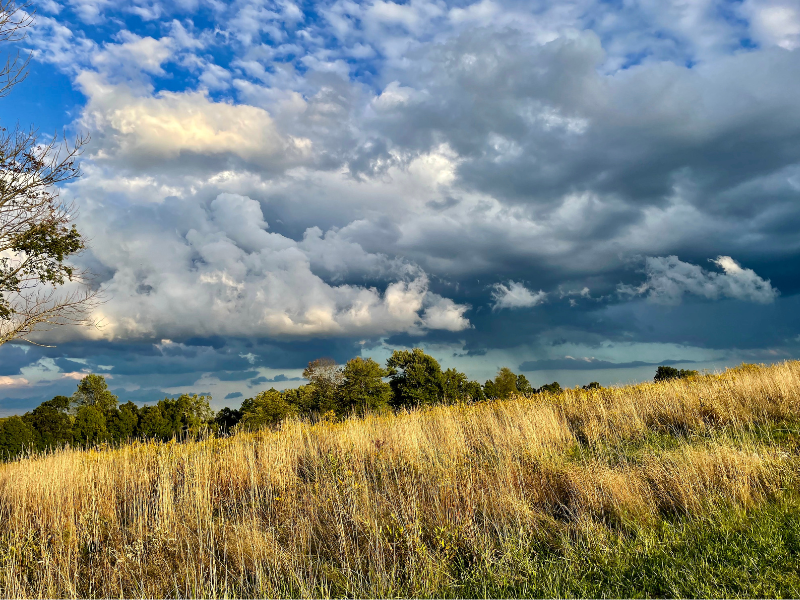
Wildflower Meadow – Holcombe Hill, Newtown, CT. We’ve been talking about meadows for many years. And yes, we’re passionate about planting them here at HFG. Why? There are many benefits to you, the homeowner, and even more to Mother Earth.
By planting natives, the foundation plant of a meadow, you become part of the ever-important link between native plant species and native wildlife, including birds, insects, bees, and more. And, you get to say goodbye to mowing that section of your lawn, which saves you time and money – and has additional sustainable benefits to our environment.
Mow time is cut in half and beauty exudes.
This statistic really hits home. According to the U.S. Environmental Protection Agency (EPA), one hour of operating a new gasoline lawn mower emits the same amount of volatile organic compounds and nitrogen oxide as driving a new car 45 miles. Garden equipment engines produce up to 5% of the nation’s air pollution. Sobering.
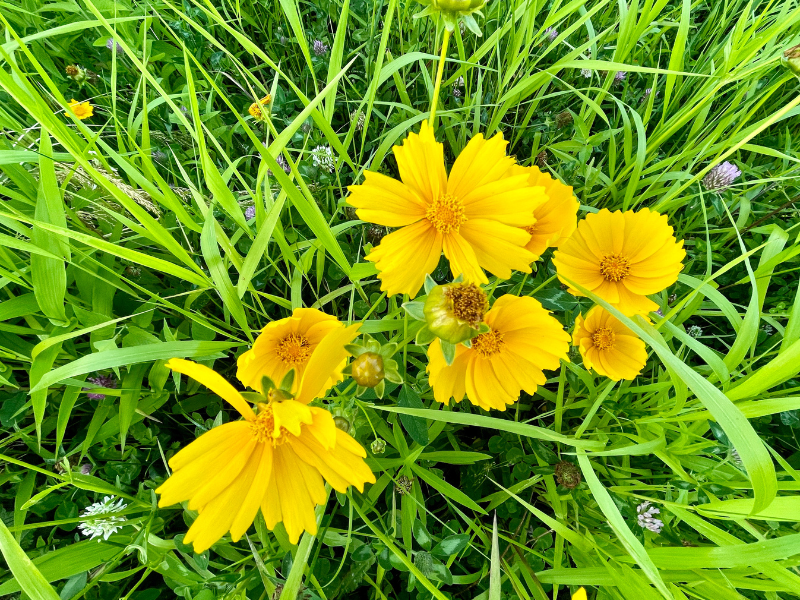
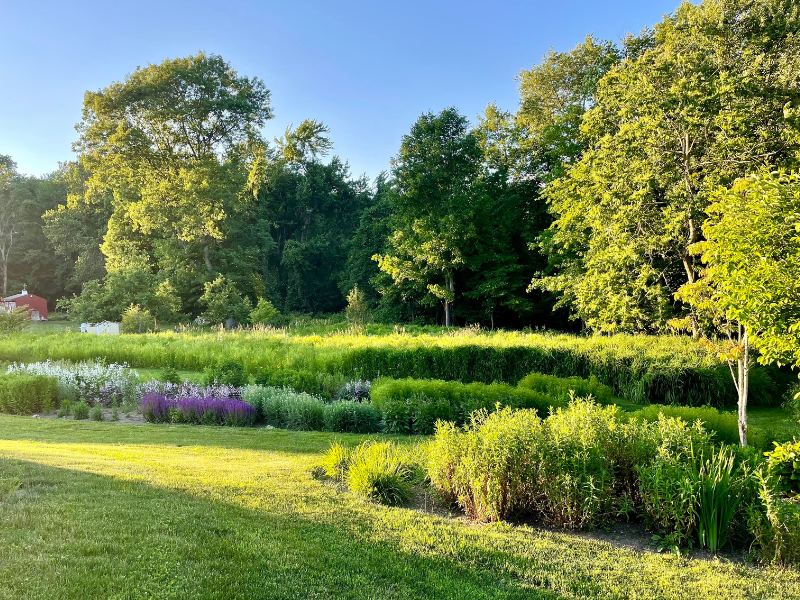
Early summer blooms in this local, native meadow.Now, let’s get back to what it takes to install a meadow on your property – large or small.
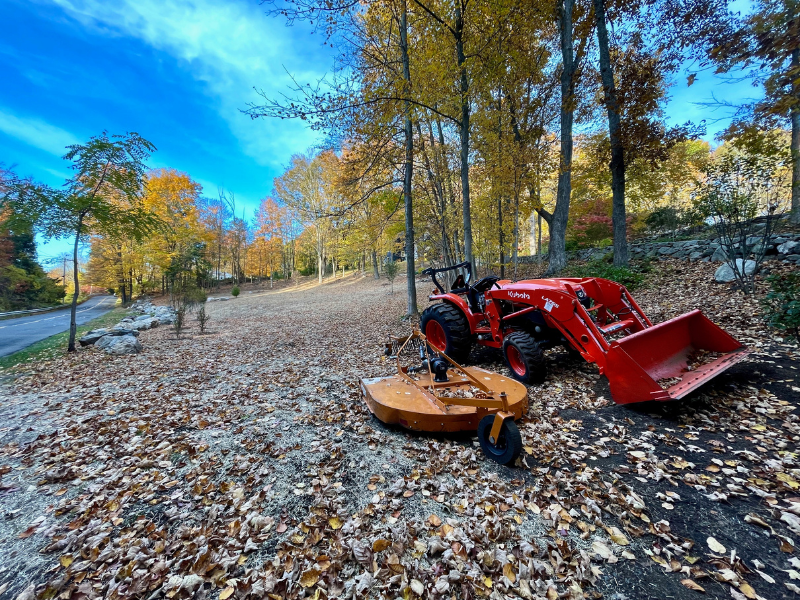
Proper meadow installation will only be successful if you use the correct preparation methods to avoid pitfalls. We typically start by making sure enough time is spent ridding your area of aggressive plants and mowing the meadow down the first year when the height of the growth reaches 12”. These are general best practices. There are many other exceptions and nuances to consider when installing a meadow, but don’t let it overwhelm you – we are always here to help!
6 Steps for Meadow Success:
1. Selecting a location: Find a suitable, open location that receives approximately 6 hours of sunlight each day.
2. Assessment of site: Assess the existing vegetation. What plants are currently growing at this point in time? This step will determine what happens next.
3. Prepping the site: This step can be the most labor-intensive step based on what vegetation is in place. If the area is comprised of many woody, shrubby, or large thorny plants and/or aggressive non-natives, these will have to be removed first. Methods for ridding the area of these tough plants might include mechanical removal, burning, or selective herbicide treatment.
If the area contains mostly existing lawn and other cool season grasses, we rid this area of vegetation by:
Mechanical removal: We prefer a sod cutter in areas where minimal stone and a good stand of existing grass are present.
Solarizing & Mowing: First, we start by mowing the grassy vegetation as low as possible (scalp mow) and then we often solarize the area by placing a plastic sheet over the top of the vegetation. Depending on the type of vegetation present (and if it’s an aggressive species), we would leave the sheeting in place for a minimum of 3 months.
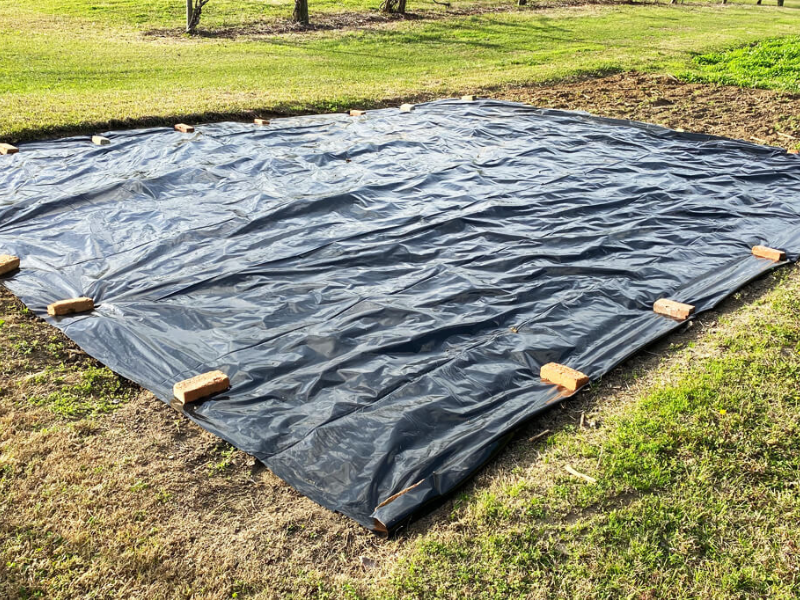
The solarization process is underway.
Once the vegetation is removed, we prefer to let the area grow out again, especially if there are a lot of aggressive annual weeds such as crabgrass that have seeds lying dormant in the soil, just waiting for the chance to germinate. Once these begin to grow again, we revisit mowing, spraying, and solarizing, or even all three! If we opt to spray, we will use a non-selective herbicide at this point, or even a natural mix of vinegar, salt, lemon juice, and soap to kill the shoot growth. Unfortunately, these organic sprays do not translocate to the root zone and will only kill off the shoots, so several repeat applications may be needed.
4. Seeding…the fun part! After the site is generally weed free, it’s time to seed the area. We would collaborate with you on choosing a native seed mix suited to the area and growing conditions: dry, wet, or average soils.
How do we plant all of these seeds you ask? If the area is a manageable size, we lightly fracture the top surface of the soil using a stiff metal garden rake. For larger meadows, we like to use a rake towed behind a tractor or we may opt for a drill seeder. This method is used to evenly and efficiently fracture the soil and distribute the seed. Once the soil is ready and the seeding rates have been established, we prefer to mix the seed in a carrier such as a clay kitty litter container (yes, I said kitty litter!) to aid in distribution – it works well.
After seeding, a light covering of hay is laid down to protect the seed from birds and from washing away in potentially heavy rainfall.
Hay is laid for protection.
5. A daily rain dance: This important method may be needed and is dependent on what type of weather pattern we’re having. Praying for rain can also help.
6. The final critical step: Once your meadow reaches 12-18” the first season, we will need to mow the area down (even if there are flowers…yes, tough…we know!). We do this at a minimum until late July – it allows the young developing flowers to become strong enough to stand up against the more aggressive grasses in the seed mix.
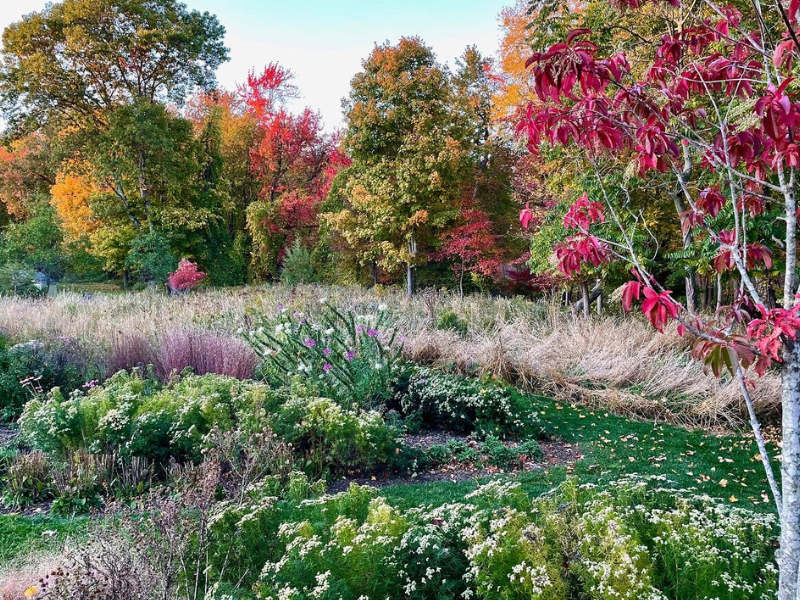
This homeowner is now reaping the reward – seasonal beauty.
Sit back and enjoy your, new, ever-changing landscape – complete with all of its seasonal offerings while knowing you’ve given a special gift back to our friend Mother Nature.